On-body comfort science. Low-friction seams that reduce chafing in endurance apparel
Marathons, long drives, rough hikes. Skin rubs. Fabric moves. Sweat adds grit.
If a seam is rough or in the wrong place, you feel it after mile five—and hate it by mile fifteen.
Good news: low-friction seams are not luck. A set of good choices during making can really help one decide where the seam goes, how it’s stitched, what thread you pick, and how the fabric is finished. Do these right, and the garment stays quiet on the body.
Why chafing happens (short and simple)
Chafing is friction + moisture + time.
- Friction comes from rough yarns, tall seams, or hard edges.
- Moisture softens skin and makes salt crystals that scratch.
- Time multiplies small problems into big ones.
So we lower friction, move moisture, and keep edges smooth.
Place seams where the body moves least
- Off the hot zones. Move seams away from underarm pits, inner thigh, nipple line, and along backpack strap paths.
- Shift shoulder seams. Push them forward or backward so the load sits on fabric, not a seam, when wearing a pack.
- Use gussets. Add underarm and crotch gussets so motion spreads out. Fewer tight curves = calmer skin.
- Round corners. Keep radii ≥ 6–8 mm. Sharp corners stack stitches and feel like a tiny rock.
Pick stitch types that sit flat
- Flatlock (class 602): two pieces butt together, seam lies flat. Great for base layers and tees. Keep length 3.0–3.5 mm so it stretches without ropey ridges.
- Coverstitch (class 406): for hems and bindings; low bulk and stretchy.
- Bonded seams (no thread on the skin): good under straps; use narrow films ≤ 3–4 mm and soft backer tapes so the edge doesn’t cut.
- Lockstitch (301): use only for short reinforcement or hidden areas; if you must top-stitch near skin, keep length 3.0–3.5 mm and tension low to avoid tunneling.
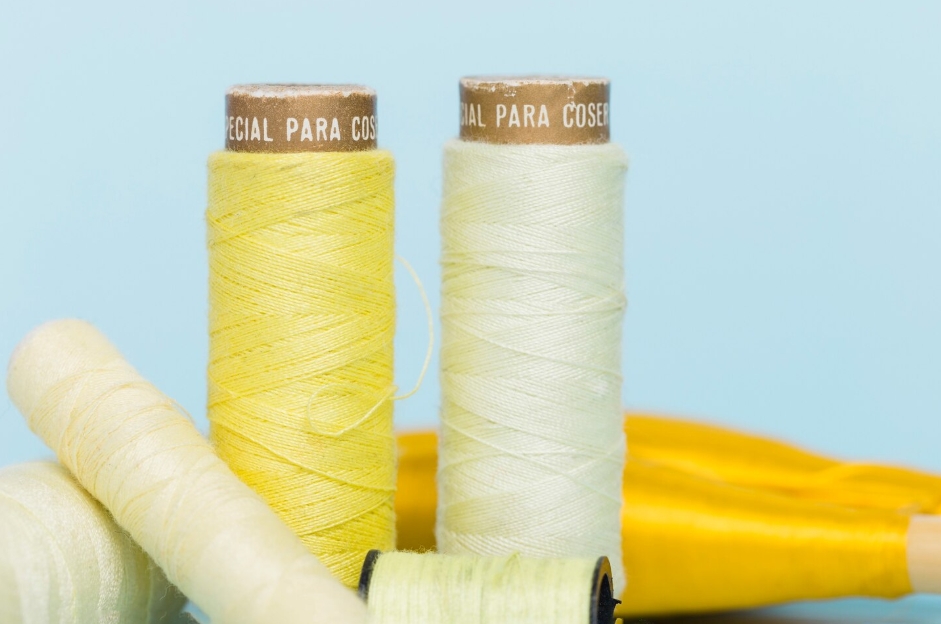
A thread that feels soft and stays soft
- Needleside (needles): fine corespun polyester, fine filament polyester or trilobal polyester thread. Clean loop, low fuzz.
- Loopers: textured (air-jet textured) polyester so the underside feels soft like micro fleece. Example: textured thread.
- Ticket/Tex: go light. Tex 18–24 (about Tkt 120–100) for ultra-light knits and tees.
- Finish: low-friction finish to cut needle heat and reduce micro-snag; silicone-free near printed zones to avoid fish-eyes in graphics.
- Color fastness: deep colors should be solution-dyed when possible to resist rubbing fade on the seam.
Needles and SPI that don’t bruise the knit
- Needle point: ball-point (SES/SUK) for knits; it parts loops instead of cutting them.
- Size: start small—NM 65/9–70/10 on light microfiber tees; go to 75/11 only if you see skips. Smaller holes = lower friction and smoother hand.
- SPI / stitch length:
- Overlock (504) join: 2.8–3.0 mm length (≈ 10–12 SPI).
- Flatlock (602) & cover hems (406): 3.0–3.5 mm length for drape.
Too tight = rope and ridges. Too loose = grin and pop.
Fabric, bindings, and edges
- Microfiber yarns (fine denier) reduce surface friction on skin.
- Brushed inside? Light, uniform brush can help, but heavy brush traps salt; test both ways.
- Binding: use soft knit binding with coverstitch on neck/armholes; no raw laser edge touching skin unless your fabric holds a very clean cut.
- Label plan: print or heat-transfer the care label. No scratchy tags. If a tag is required, place it in a side seam pocket away from rub.
Moisture is a teammate if you guide it
- Choose wicking finishes that pull sweat across the surface and dry fast.
- Vent where you can: mesh panels placed away from strap paths.
- Avoid wide, non-breathable bond films; keep lanes narrow so vapor moves through.
Pattern and fit that stay quiet
- Close, not tight. Snug fit reduces fabric flap and rub, but tight seams dig in.
- Even compression. If you use power knits, keep stretch balanced around the limb to avoid a high-pressure seam line.
- Hem weight. Add a tiny hem weight or a wider cover hem to stop riding up.
Quick test set before you cut the big lot
- Raking-light seam check: lay the sample flat under a low lamp. If you see a ridge, lengthen stitch or change needle.
- Salt-spray rub: mist saline on a seam and do 500 rubs with a soft pad. Look for pilling and fuzz.
- Treadmill sweat test: 45–60 minutes at easy pace with a pack. Mark any hot spots.
- Wash-dry cycles: 10 home washes; recheck seam hand. If rougher, open density or switch thread/finish.
Troubleshooting quick table
| Symptom | Likely cause | Fast fix |
| Scratchy ridge on inside | Flatlock too dense / looper not soft | Lengthen to 3.2–3.5 mm; switch looper to textured poly |
| Wavy hem that rubs | Coverstitch too tight / wrong differential | Lower looper tension; set diff feed 1.10–1.20 |
| Needle bites / micro holes | Needle too big or sharp point | Drop to 65/9–70/10 ball-point; reduce foot pressure |
| Seam hot under straps | Thick bond / tall join | Use narrow film (≤4 mm) with soft backer; or move seam off strap path |
| Tag itch | Woven label at neck | Switch to heat-transfer or pocket the label in side seam |
One-week pilot (small, real)
- Day 1–2: Cut 12 tees, three seam builds: A) overlock + cover; B) flatlock; C) bonded shoulders + cover hem.
- Day 3: Needle 70/10 BP, textured poly in loopers, stitch lengths per above.
- Day 4: Treadmill 60 min with pack; note hot spots.
- Day 5: Adjust: lengthen flatlock 0.3 mm; move shoulder seam forward; swap to softer binding.
- Day 6–7: Repeat run + wash test. Lock the spec that feels “invisible.”
Tech-pack lines you can copy
- Join seams: 504 overlock, length 2.8–3.0 mm, diff feed 1.10–1.20.
- Hems: 406 coverstitch, length 3.2–3.5 mm.
- Optional: 602 flatlock on raglan/side panels, length 3.2 mm.
- Needles: BP NM 65/9–70/10 (ELx705 for cover).
- Thread: needles—corespun poly Tex 18–24; loopers—textured poly Tex 18–24; low-friction finish, silicone-free near print.
- Seam placement: off underarm pit; forward shoulder; crotch gusset for shorts/tights.
- Labels: heat-transfer; no neck tag.
Wrap
Comfort is a design choice. Move seams off hot zones. Use flat stitches that stretch. Pick soft threads and small ball-point needles. Keep stitch length relaxed, bindings gentle, labels quiet, and films narrow. Test with sweat and motion, not just on a table. Do this and your endurance apparel will feel calm at mile two—and still calm at mile twenty.